Five Techniques I Use To Shoot Less
I began photographing only six and a half years ago and I have a long way to go, but there are some things I've learnt in the last few years that have changed the way I shoot drastically. I've never enjoyed shooting hundreds of images just to get results.
I used to shoot extra frames just to make sure I was executing it right and getting the results, but over time I learnt to use other techniques to make my photographs in my head before I've even taken a single frame. I wouldn't have it any other way and have been applying it to my professional work.
Shoot Film On The Side
Simon on my Olympus mju ii 35mm f/2.8 compact camera using Agfa Vista 400 colour film.
This is probably the most important of all and the thing that ultimately leads to the use of the following techniques. Film is not magical, it's just another photographic medium with its own idiosyncrasies, pros and cons, and a long history to draw from, but what shooting film does is force you to get it right in camera.
This is important. You fail and it'll cost you anywhere from 50c to dollars per image, so the lessons are learnt quickly. Film is meditative. Film is artistic. Film makes you want to see better as you cannot see the photographs until after you shoot. Film lets you focus on seeing and preparing then capturing an image before moving on immediately to the next.
Grab a cheap Nikon SLR, an Olympus compact 35mm or even try something in medium format such as a Hasselblad or Mamiya rangefinder.
Use A Light Meter
Marthe on Nikon D810 with 50mm F1.4G lens using a 110cm reflector.
This is an interesting one. In the time of digital cameras that can easily meter a scene and be used as a "polaroid" to test your ideas, not many people seem to use light meters anymore. In the last year or so, I've been using my Sekonic incident meter a lot more for both ambient and off-camera flash lighting.
Measuring the light means I don't have to guess by shooting redundant frames. When I'm setting up my speedlights, I will measure the light on the subject and think about my settings first. When I am ready to finesse the actual light placement, my camera is in tune with what the lights are going to give me.
An incident meter also doesn't discriminate like a reflected light meter. If you measure in the right way, an incident meter will let light and tones fall where they should. Skin tones fall above or below middle grey. Green foliage will naturally be about a stop under and appear deep green. Clouds will be a few stops brighter. An incident meter let's the scene be what it should be.
Frame With Your Eyes First
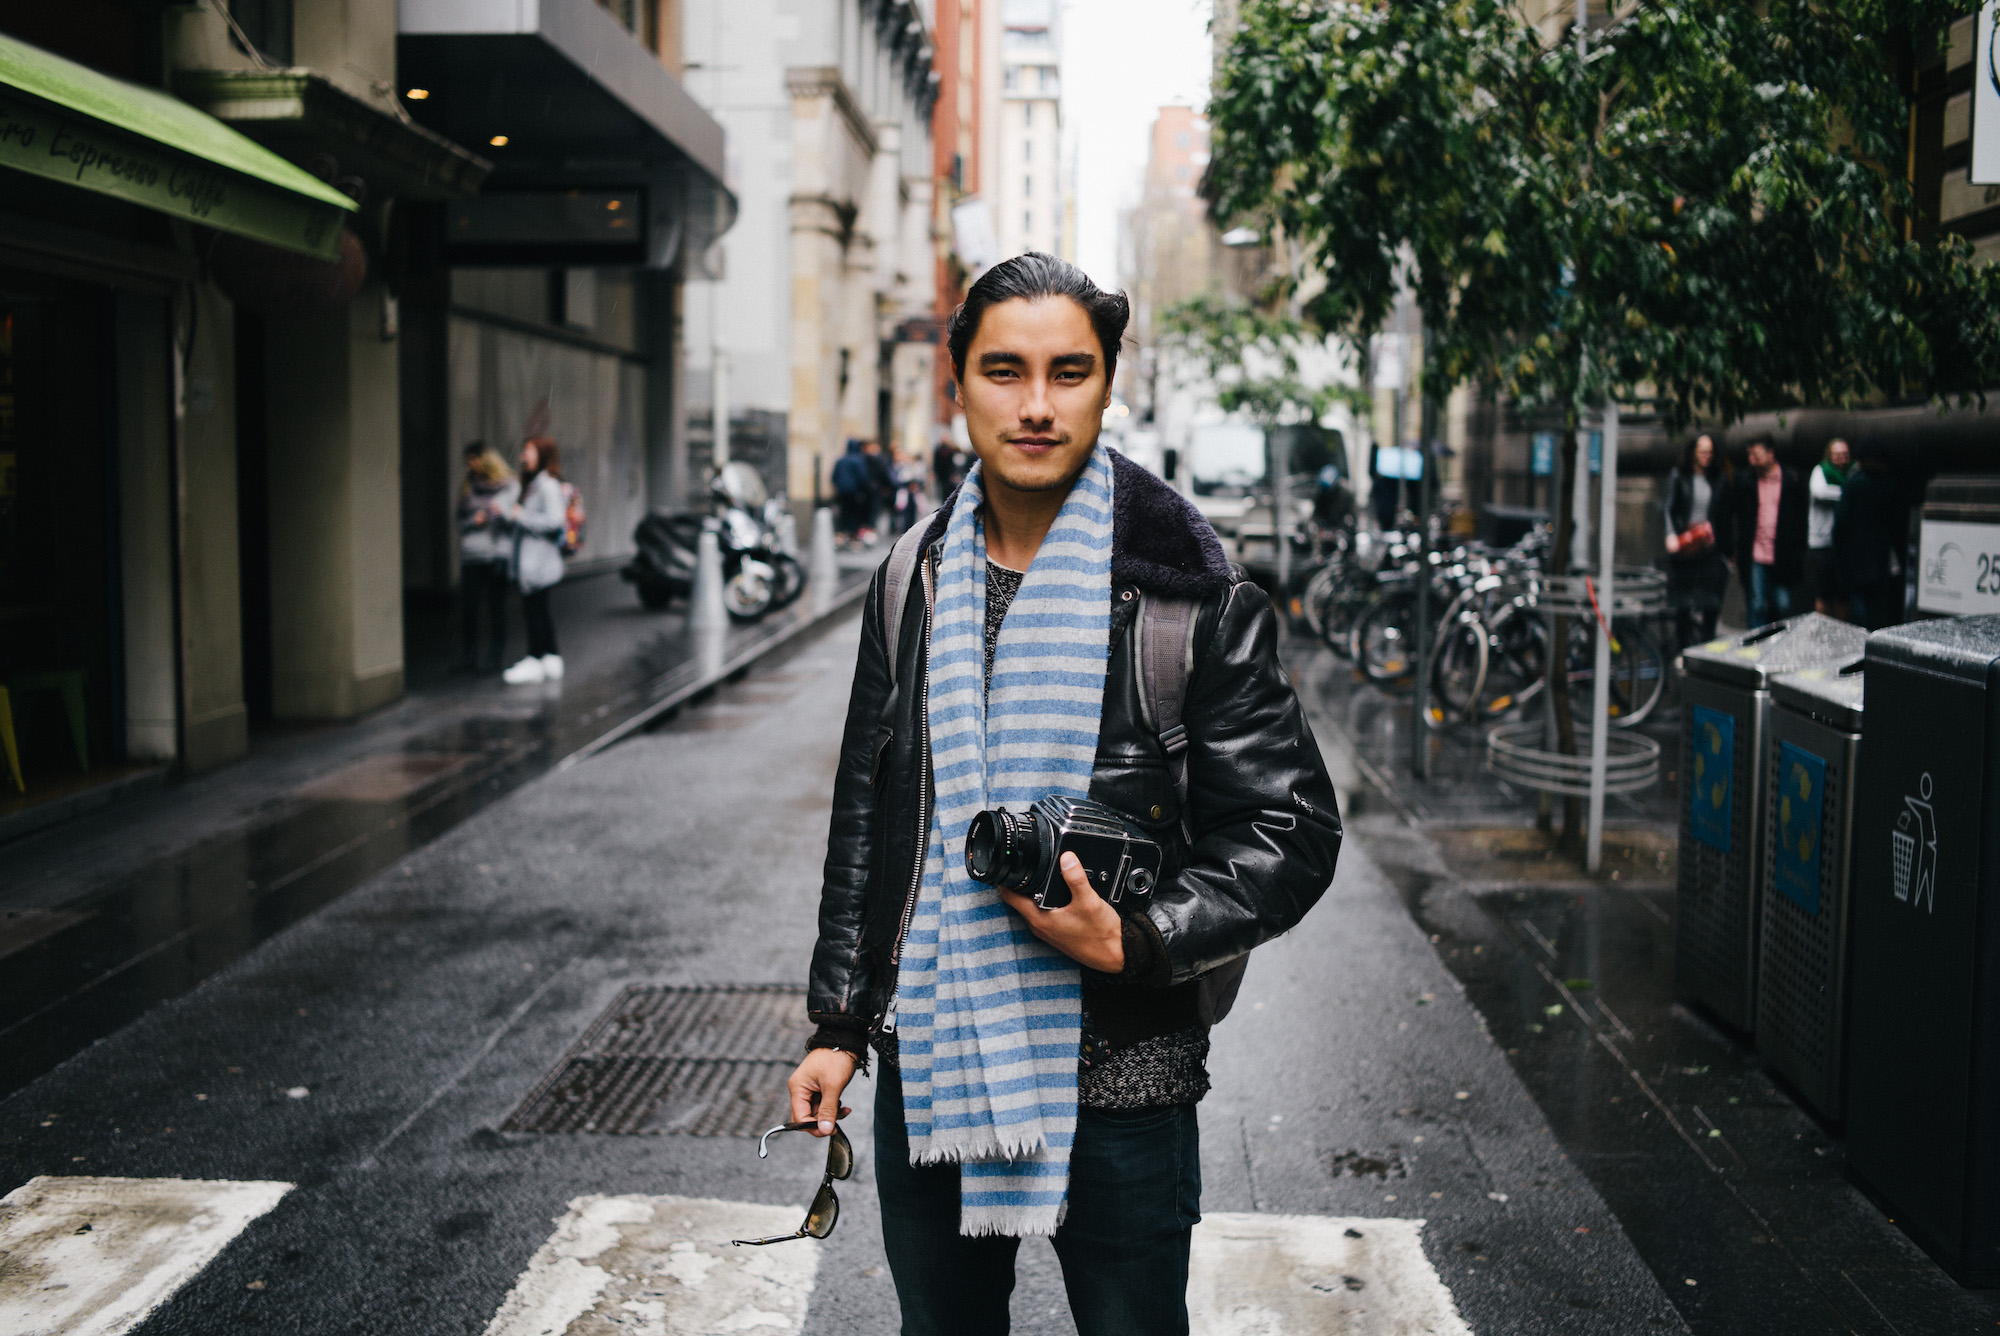
Hannah on Leica M Typ 240 (rangefinder) using Leica Summarit 35mm f/2.5 lens.
I use only prime lenses these days. It not only lets me stay consistent within one perspective for a while, it also allows me to pre-visualise the way a specific focal length will frame a scene before I've even picked up a camera.
I know that a 50mm (on full frame) gives moderate compression while not being wide and is a great all purpose portrait lens, while an 85mm will remove a subject from the scene and is especially useful for head shot style portraits. On the other hand, I've learnt to see a 35mm frame in my mind quite well as I have shot with that moderately wide focal length for a while now.
In other words, learn the framing of each of your lenses then before you bring up the camera, look first. Move yourself around and be observant of backgrounds, ill-placed poles, busy trees and the like. Then once you see a composition worth trying, lift the camera to your eye.
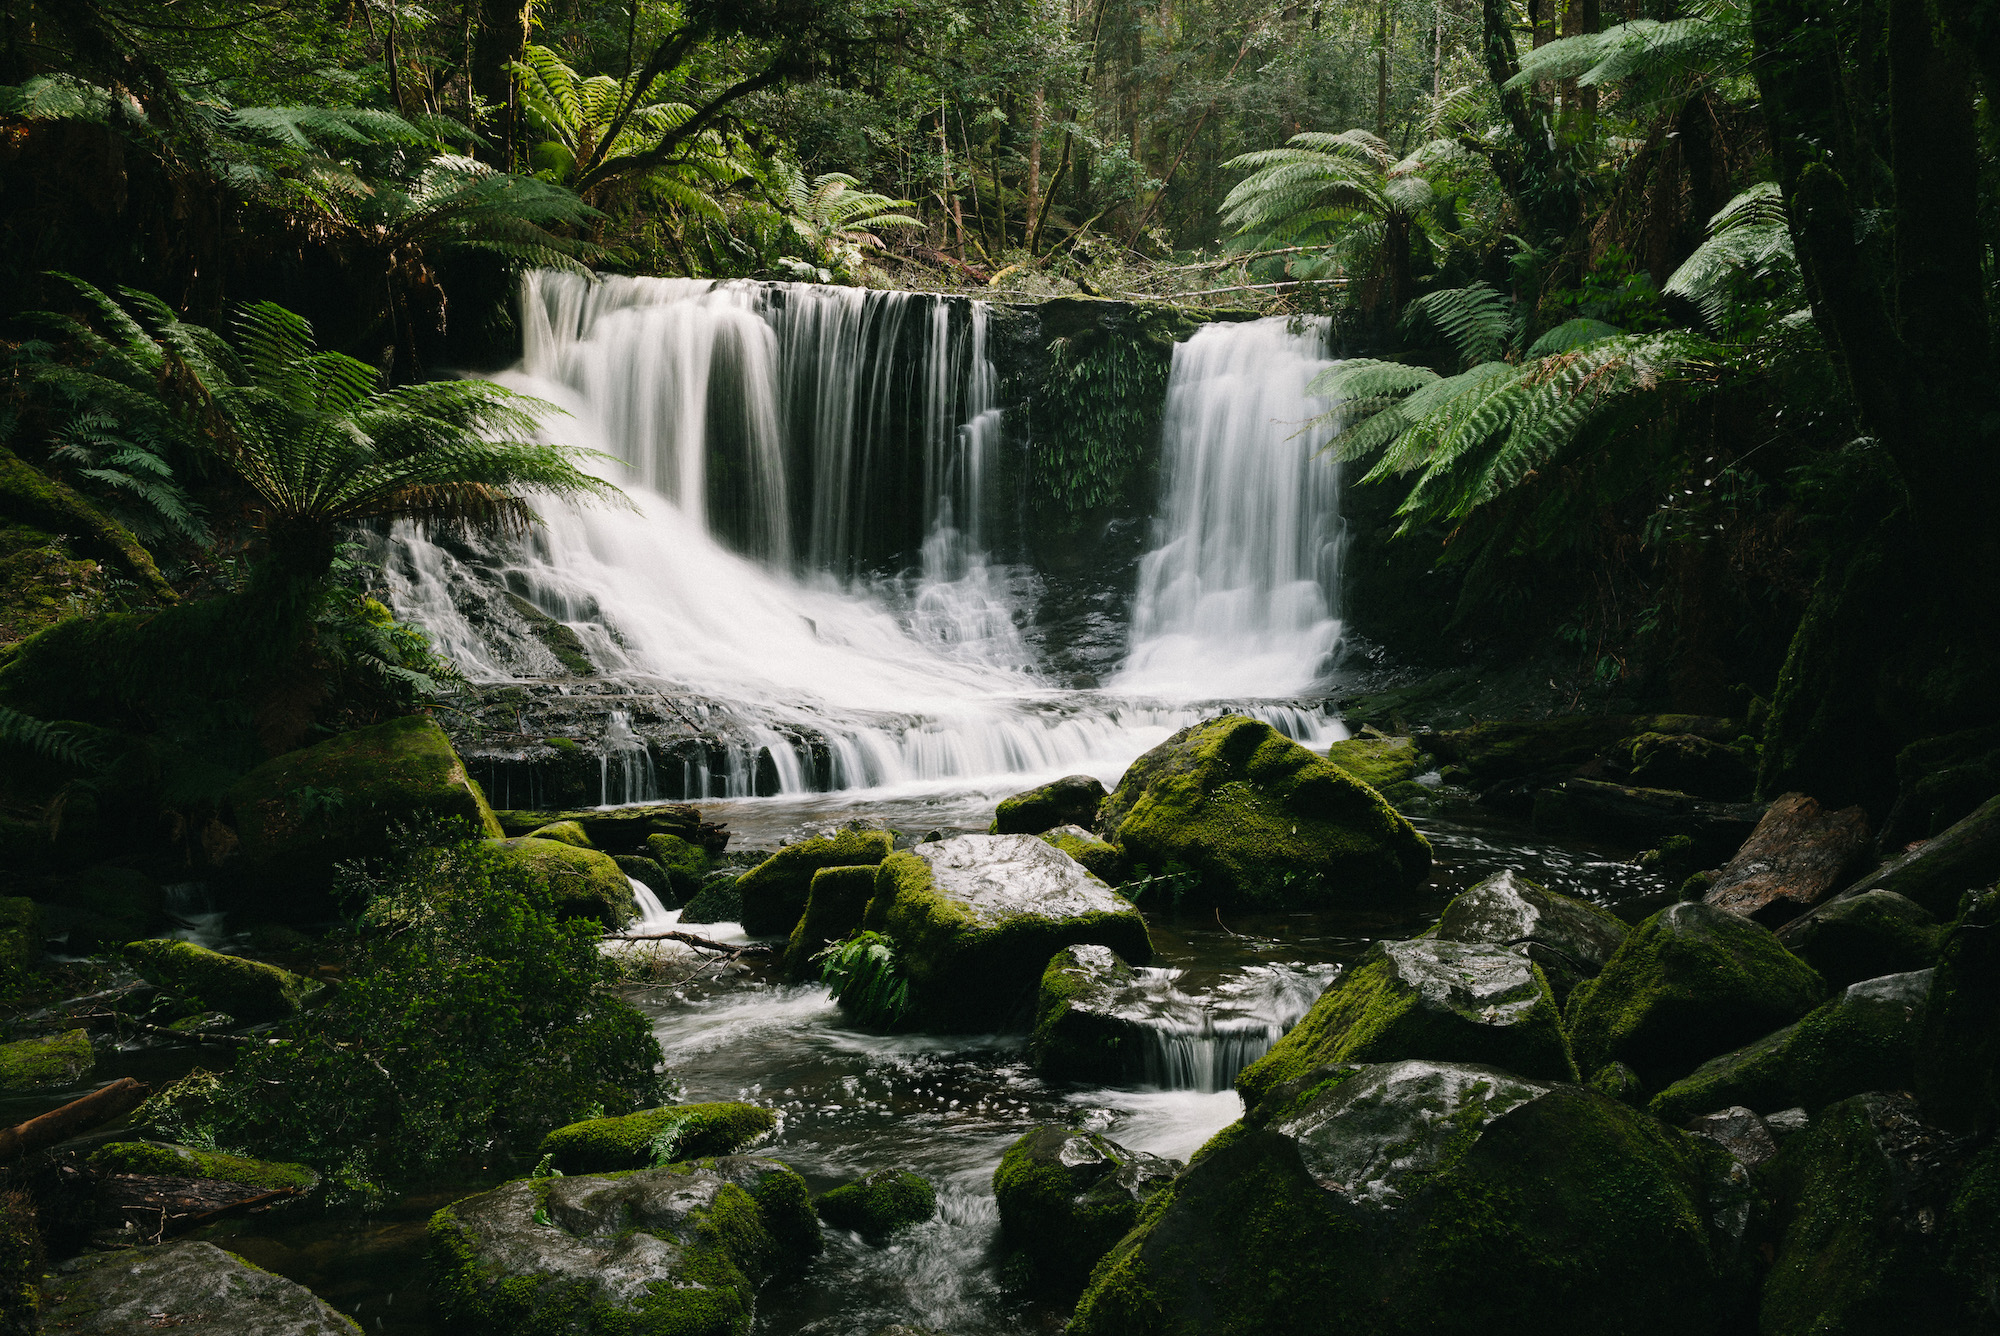
Read The Light
Jeremy and Taj (in the onesie) on Leica M Typ 240 with Leica Summilux 35mm F1.4, processed with VSCO Film Ilford HP5+.
Being able to read the light in a scene takes a long time and experience will only make you better at working out how you can use a scene's light to create something engaging. I'm constantly trying to figure out where light sources are and how they are shaped when I view other people's work, whether it's indoor portraits, outdoor mountain vistas or sunlit street photography.
You can explore Instagram (or Flickr, or 500px etc) for hours and just absorb what everyone is doing and how they might have executed their photographs. Watch videos on YouTube, follow great photographers to learn from the best.
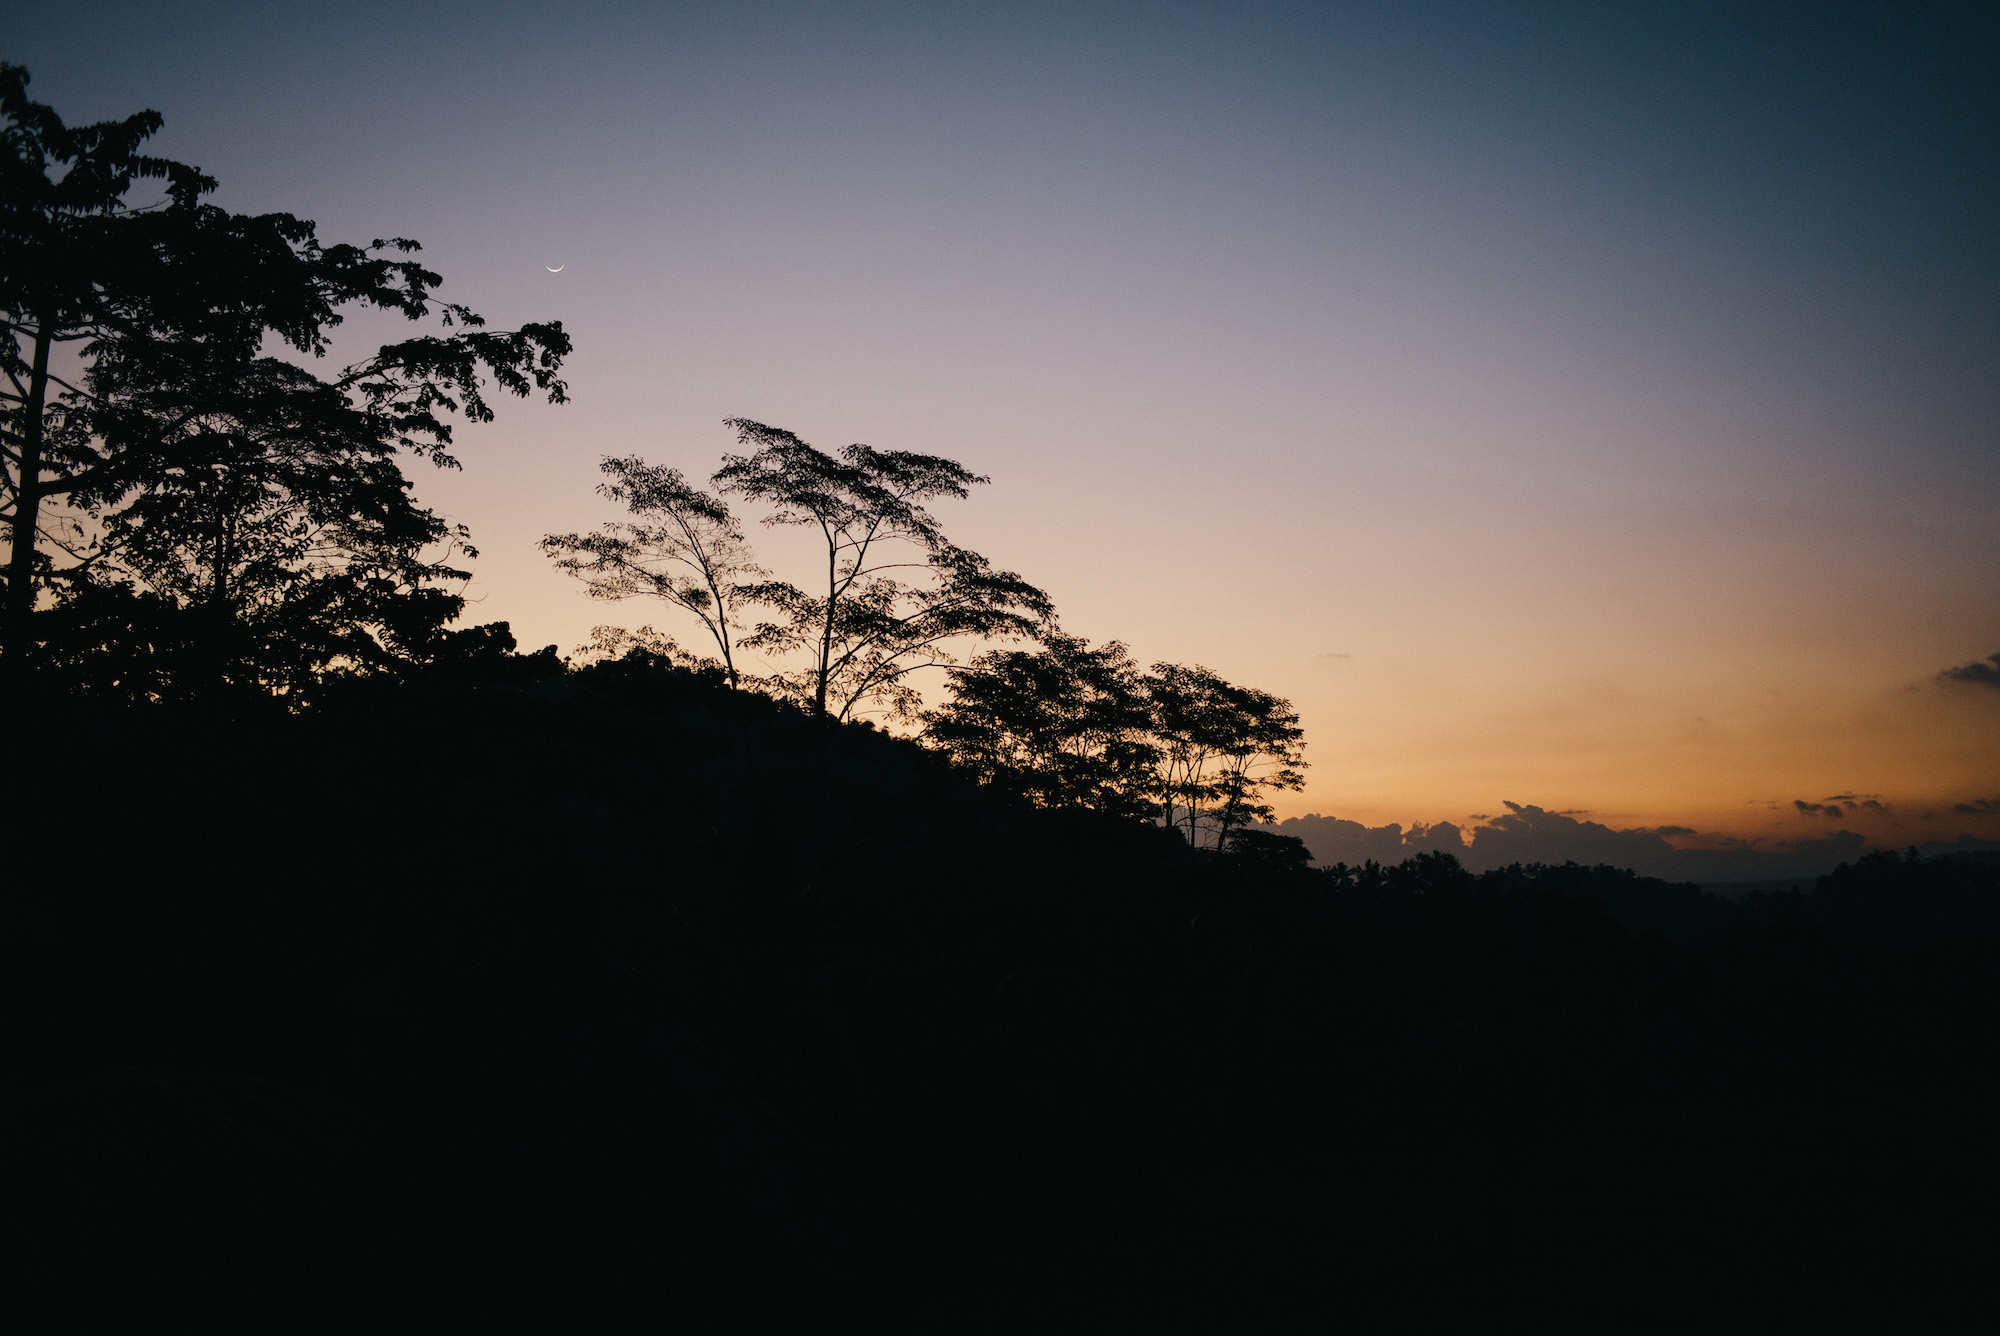
Windows are your friend, cloudy days and shade can be both soft and easy to work with, especially with a reflector, striking sunny mornings and afternoons can create drama, the list goes on.
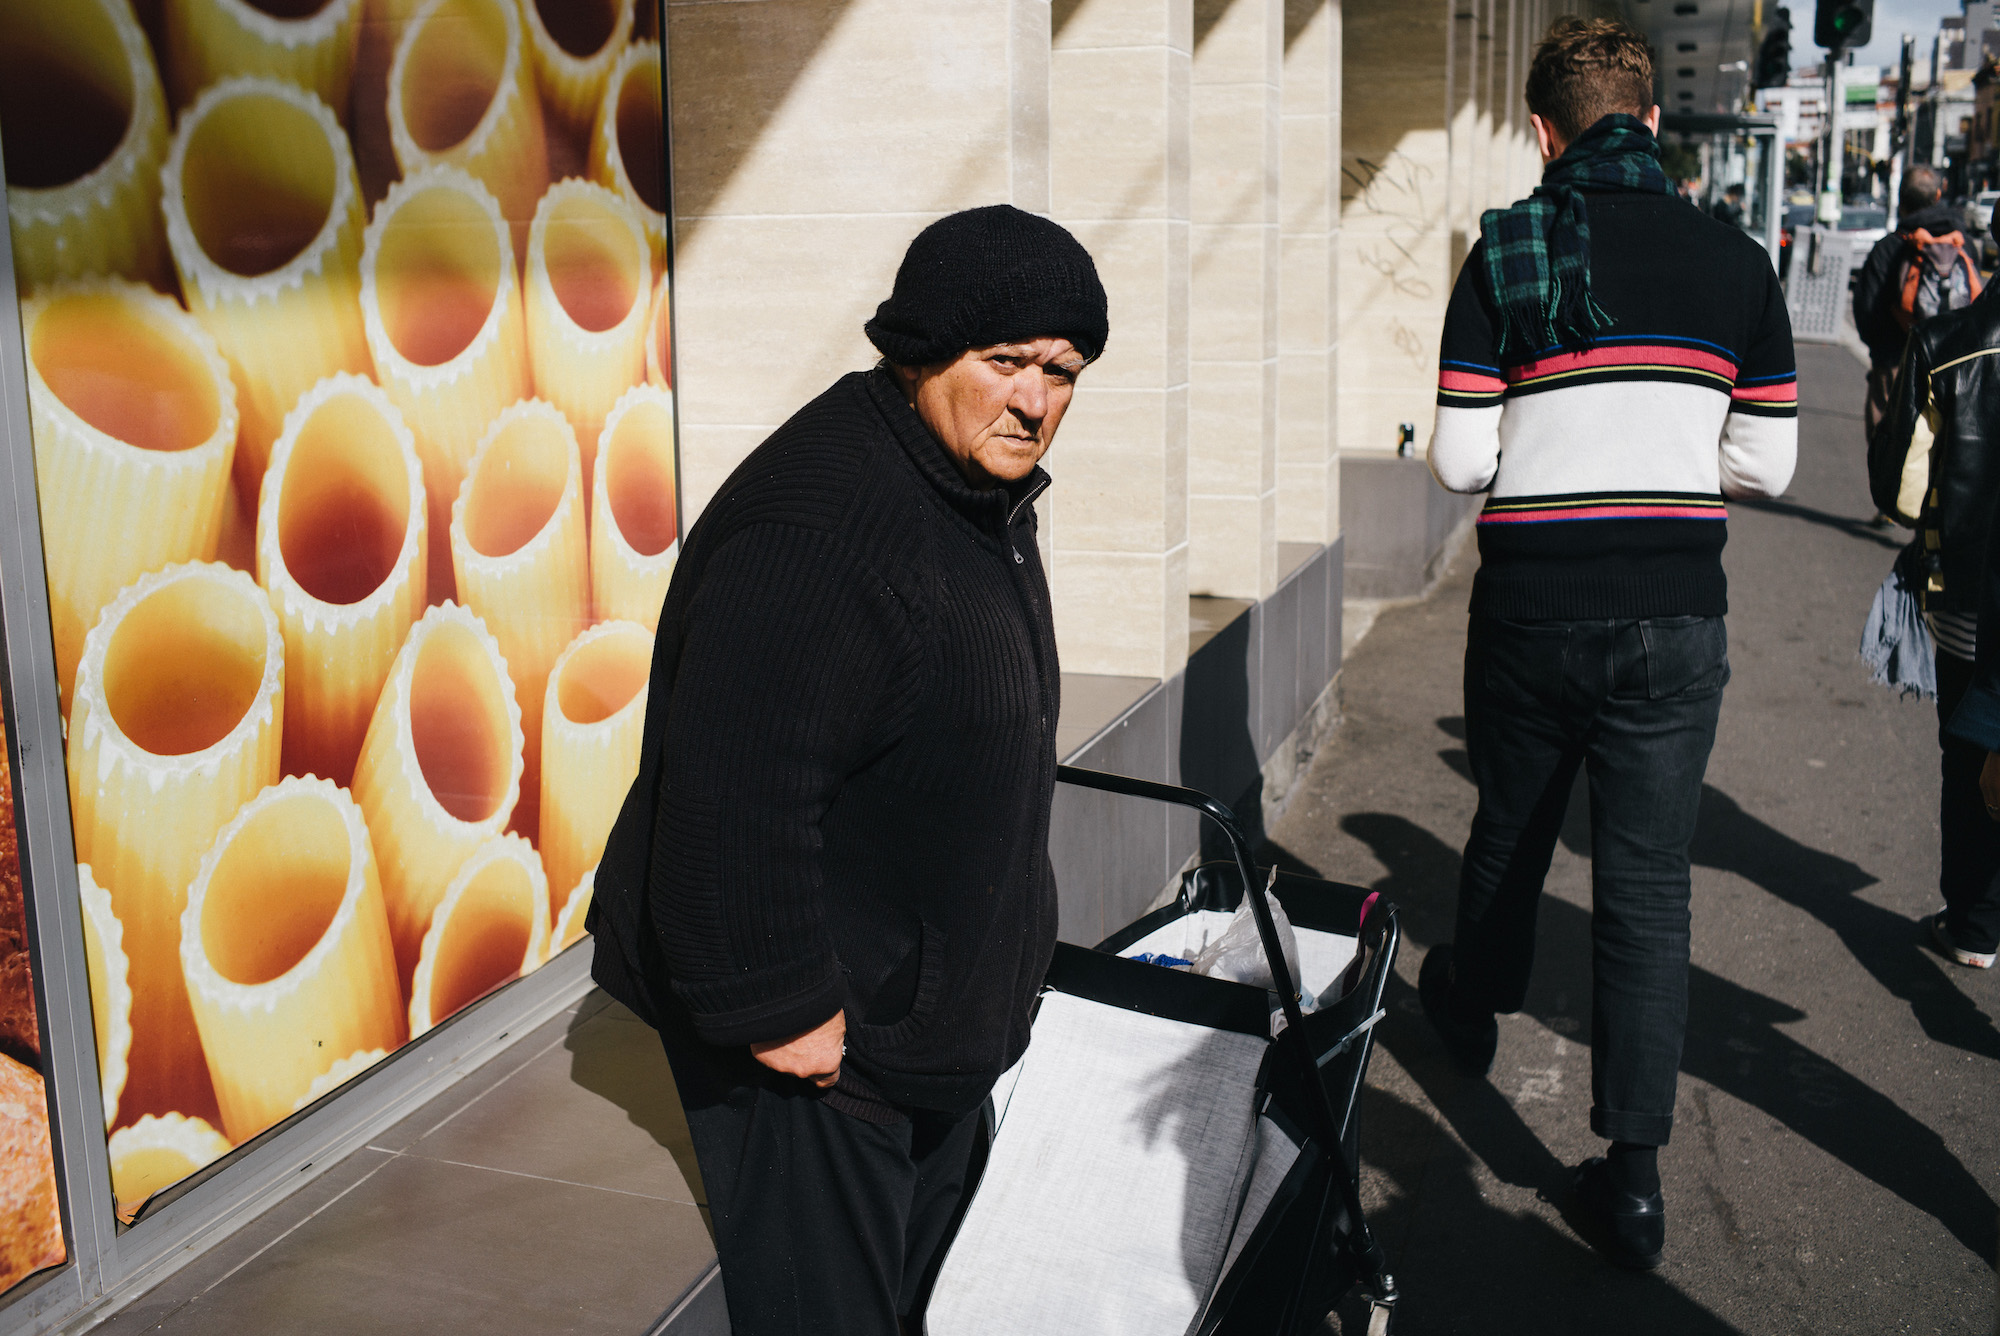
Just Slow Down
Marthe on Nikon D810 with 50mm F1.4G.
This is something I saw Ryan Muirhead say in an Instagram Story he posted recently. Just slow down and take your time. Think, measure, compose and click the shutter last to make the photograph. Don't feel like you need to shoot so many frames just to satisfy some expectation of modern digital photography and clients hungry for more images they can even handle.
My most recent head shots consisted of only 8 raw files to choose from. I looked, measured, directed my subject and framed then took a photograph that was already complete.
Learn to spend more time making less pictures that are complete.